It is once again that time of year when the birding has slowed waaaay down. Virtual tumbleweeds are rolling through cyberspace that was once occupied with fast and furious listserv postings and backlogged blog posts. Once again, I find myself trying to fill that virtual void by doing some tech project to help my fellow birders. Last year it was the creation of birdingacrossamerica.com. This year it is something far less ambitious – this post is a simple tutorial on a new way to add bird photos to eBird checklists. Photos add to the richness of the reports we birders submit. They make them just a tad juicier than the others. We can’t resist clicking the lists with that glorious little icon.
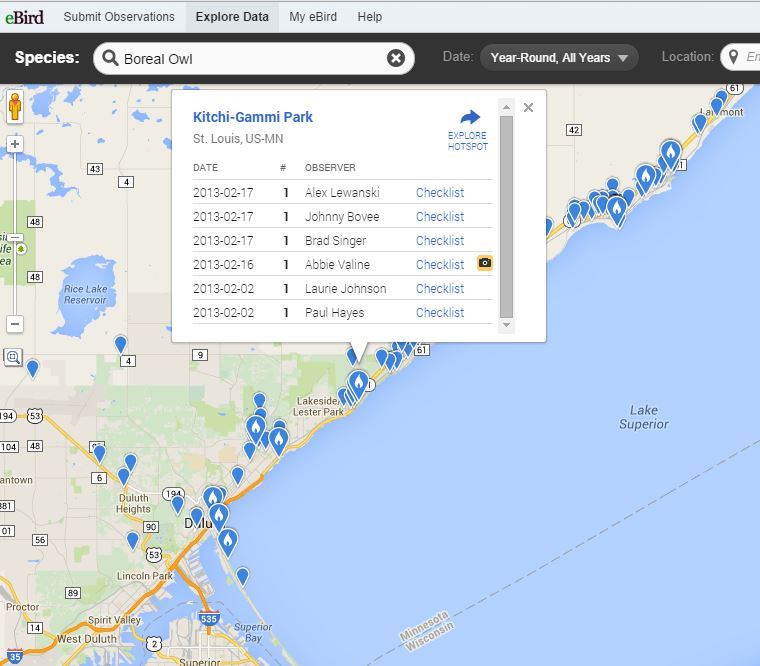
Which eBird checklist would you click on first?
There’s nothing better than opening that icon and BAM! you’re staring at a good, large photo of a great bird like the Northern Hawk Owl.
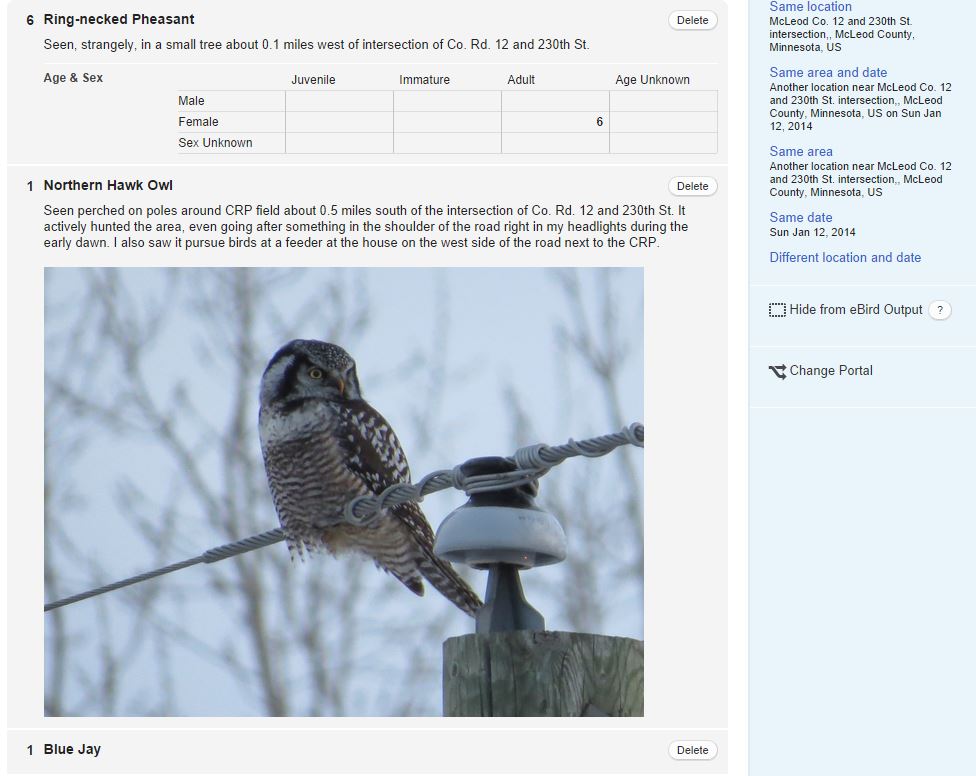
And when you report birds, it’s always nice to provide photo proof of a good bird or birds you saw. Additionally, photos can make it a lot easier for the local eBird moderator to approve your rarity.
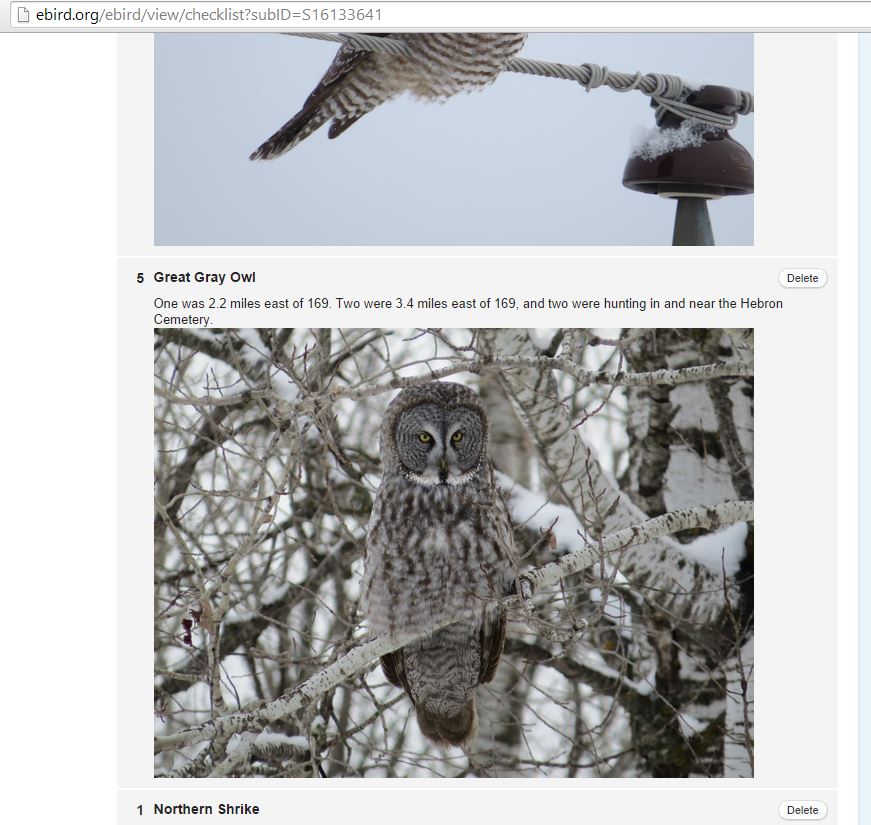
Embedding photos in eBird checklists has never been a user-friendly task, but hopefully this tutorial will take away the mystery and complication of the process for you. Though minimal html coding is still involved (don’t let that freak you out — you can copy off my paper 🙂 ), I’m offering an alternative solution to eBird’s prescribed use of photo-sharing sites like Flickr and Picasa! I had used neither of those before I got into eBird, and personaly I didn’t want another #$%#&! account with another ^%$#@ password where I have a few @ and a couple % sprinkled in that password. Enough is enough, so I found my own path using something I, and probably you, already have – Google Drive. Many of us have been using Drive for some time now to collaborate with colleagues or store files of all types for easy retrieval. Never use it? Well, the probability is high that you have a Google account of some kind already, so therefore you can sign in to Google Drive with your same Google account and password. However, this tutorial is geared toward those with a rudimentary understanding of uploading files to Drive.
Let’s get started.
After you upload your image, you should see a window like the one below. Click ‘Share’.

You should then see this window. Click ‘Get shareable link.’
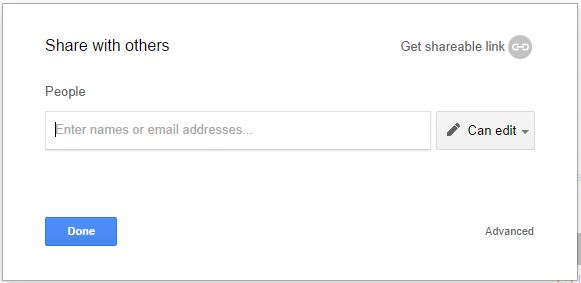
After you do that, you will see the link has been activated (notice it is green below). You will also see a URL for the image highlighted below.
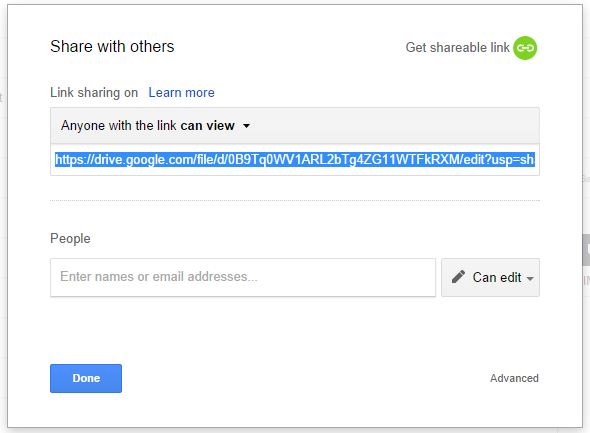
Copy and paste that URL in a new browser window. Notice how I highlighted the photo’s ID number in the URL. You will need this soon.
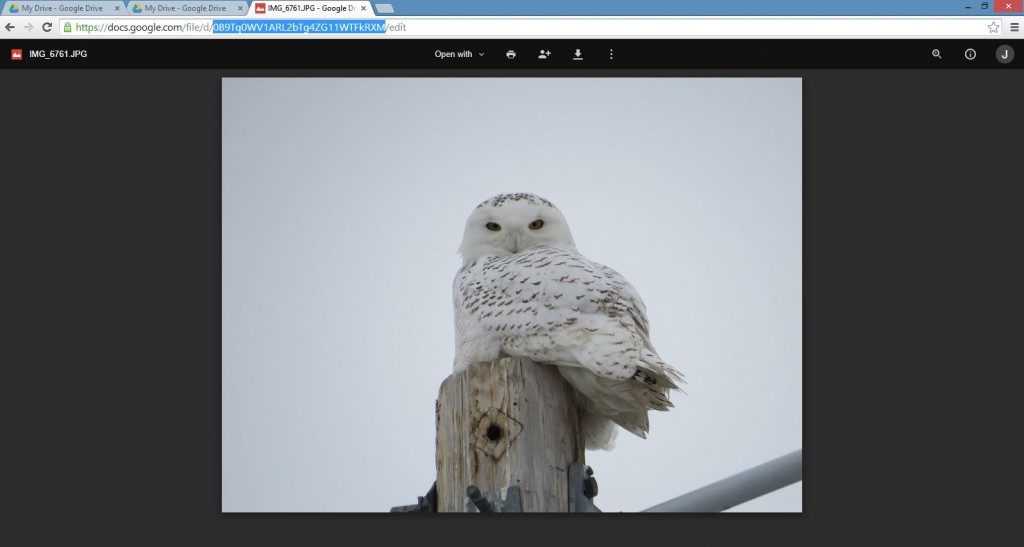
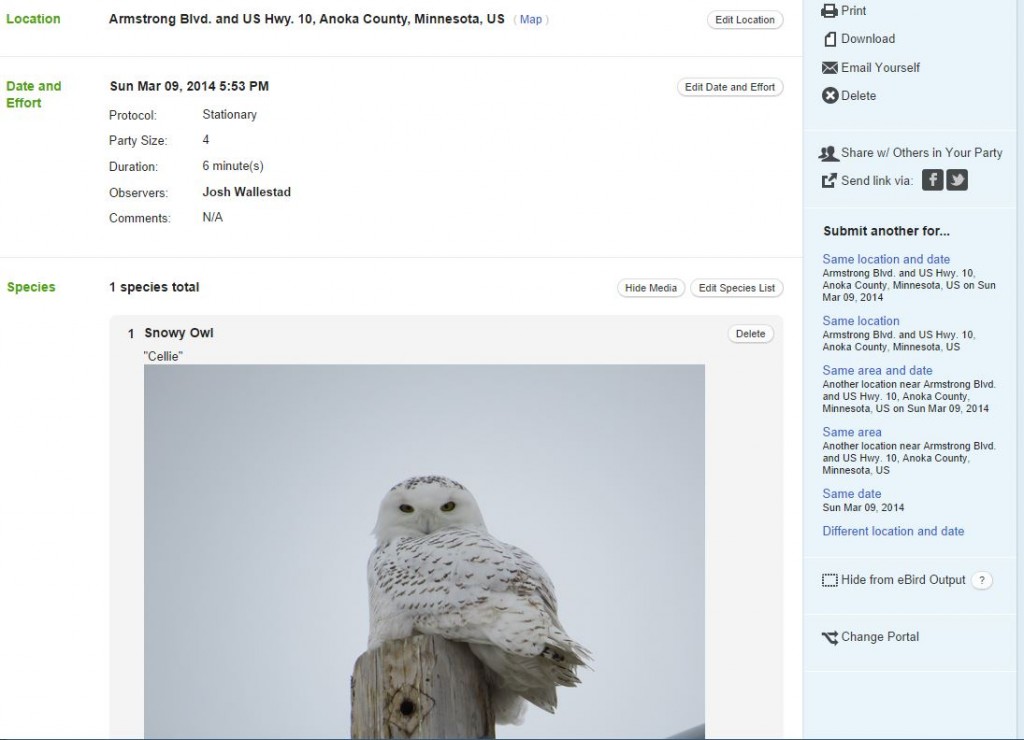
Now open up your already-completed eBird checklist in a new browser window. Click ‘Edit Species List’ and put your cursor in the comments section of the bird for which you want to display a photo.
Next, copy the line of code below and paste it into your comments for that species. Pay attention to the blue text below as you will be replacing it.
<a href=”https://docs.google.com”><img src=”https://docs.google.com/uc?id=0B9Tq0WV1ARL2bTg4ZG11WTFkRXM” /></a>

Now, unless you want this picture of that sweet Snowy in your checklist where a crushing photo of a Ruff should be, you need to do this final step. Locate your photo’s ID number in the URL that I referenced earlier.
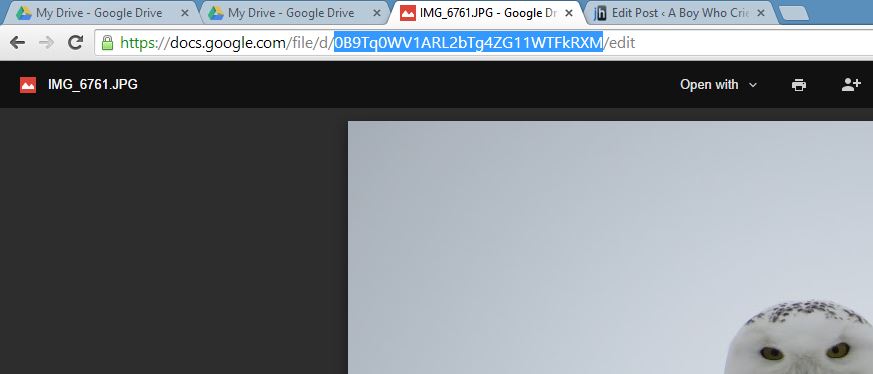
Then paste that ID in the place of the blue text in the line of code you pasted in your eBird checklist. Make sure the old ID number is gone.
That’s it! So go and make eBird a more beautiful place to visit with all your fabulous photos. After all, winter gets long for some of us, and we need some cool bird photos to check out when we’re not prowling for owls.
In memory of Jim Halvorson, district technology coordinator and fellow math teacher, who passed away unexpectedly this past week. Jim worked tirelessly and patiently to enhance our craft through technology and its advances. More important than that, he was an all-around great, friendly guy who will be sorely missed.
